
Survival in the West Incursion Zone demands mastery over Dylan Faden’s defensive toolkit, where a single mistimed dodge against a Hiss Charged can cascade into a lost encounter. This guide breaks down the exact i-frame windows, parry timings, and the animation-cancel rules that transform reactive panic into proactive combat flow. Understanding the Posture System and how each defensive action feeds into your offensive burst windows is the difference between a 30-hour struggle and a 50-hour power fantasy.
Deconstructing the Evasion and Parry Framework
Dylan’s defensive options are not just survival tools—they are the engine that drives his offensive momentum. The core loop revolves around the Posture Bar, a secondary resource beneath the health bar that dictates stagger vulnerability. Each successful dodge and parry directly impacts this system, creating openings for high-damage combos.
The Quickstep is your primary evasion tool, a short-range dash with a tight invincibility window. It costs a small amount of Stamina, making it spammable but punishable if mismanaged. In contrast, the Gravity Shift is a longer-range teleport that phases Dylan through attacks entirely, consuming Energy instead of Stamina. Community testing from early hands-on previews suggests the Quickstep i-frame window is approximately 12 frames at 60 FPS, while the Gravity Shift provides full invulnerability for its 0.4-second animation.
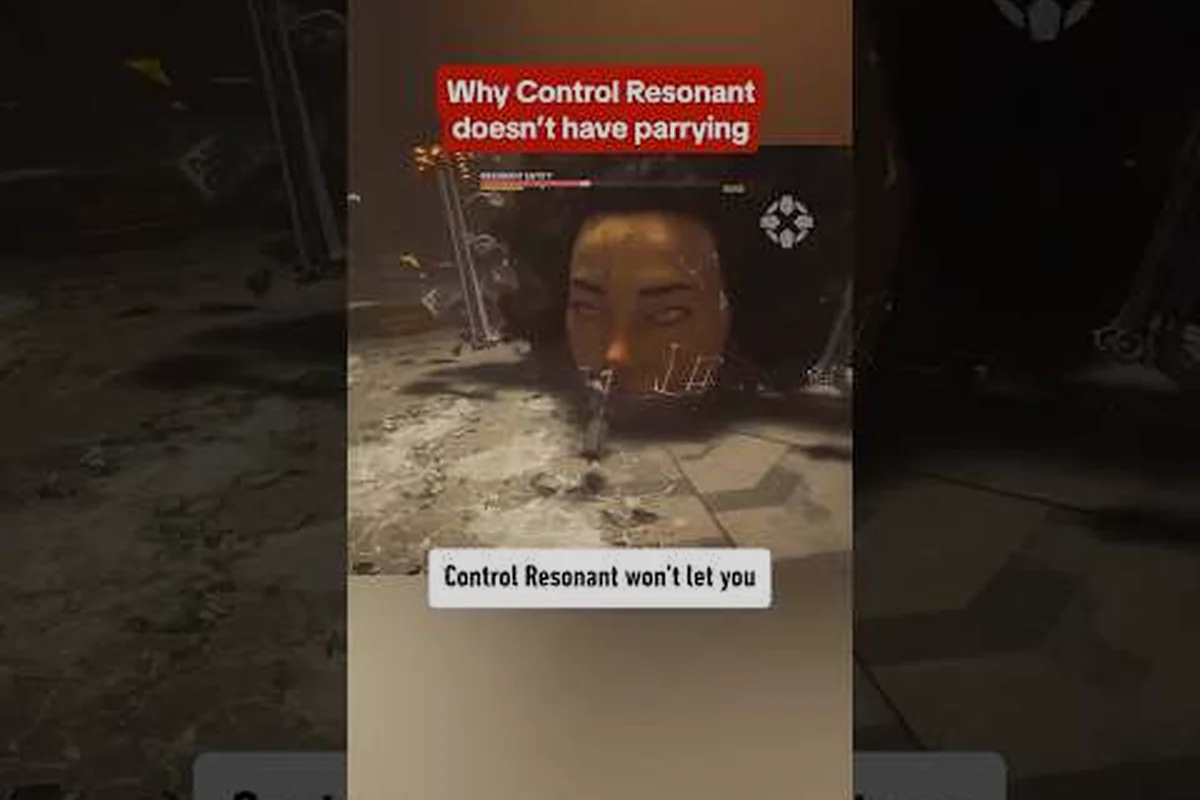
Parrying is a high-risk, high-reward mechanic executed by tapping the block button just before an enemy strike lands. A successful parry instantly depletes a chunk of the attacker’s Posture and opens them up for a critical counter-attack. However, a missed parry leaves Dylan staggered and vulnerable. The timing is strict, demanding you learn the attack patterns of each Hiss and Mold archetype.
| Defensive Action | Resource Cost | I-Frame Duration | Posture Damage | Risk Level |
|---|---|---|---|---|
| Quickstep | 15 Stamina | 0.2s (approx. 12 frames) | None | Low |
| Gravity Shift | 30 Energy | 0.4s (full invuln.) | None | Low |
| Perfect Parry | 0 | N/A | High | High |
| Block | 0 | N/A | Low | Medium |
Mastering the Perfect Parry Window
The key to a Perfect Parry is watching the enemy’s weapon arm, not their body. The parry window opens when the attack animation transitions from its wind-up to its forward swing. For most humanoid Hiss Guards, this is a 6-8 frame window at 60 FPS. The official Remedy Entertainment developer blog confirms that the parry system is designed to reward anticipation, not just reaction, making enemy pattern recognition a core skill.
Failing a parry triggers a lengthy recovery animation, leaving you unable to act for nearly a full second. This is why many players initially avoid the mechanic, but integrating it into your flow is non-negotiable for endgame content. A successful parry against a Hiss Warped instantly breaks its Posture, allowing you to follow up with a Slam attack from The Aberrant’s hammer form for massive damage.
Gravity Shift as an Offensive Tool
While often saved for dodging unblockable attacks, the Gravity Shift can be used aggressively. By teleporting directly behind an enemy mid-combo, you can bypass their shield or frontal armor. This is particularly effective against Mold Hosts, who have slow turn speeds. The Energy cost is high, but when combined with the Energy Surge passive ability, you can chain a Gravity Shift into a full Dual Wield combo for devastating burst damage.
Integrating Dodges into Basic and Advanced Combos
The true power of Dylan’s mobility comes from weaving dodges into his attack strings. The Aberrant weapon system allows for animation canceling, where a dodge can interrupt the recovery frames of a heavy attack. This transforms sluggish, high-commitment moves into fluid combo starters. For a deeper dive into weaving these abilities together, the guide on control resonant ability combos provides a breakdown of optimal loadouts.
A basic combo flow looks like this: Blade Form light attack chain → Quickstep to the side to dodge a counter → Hammer Form heavy slam. This simple sequence maximizes your damage uptime while keeping you safe. The animation cancel allows you to bypass the hammer’s long wind-up by initiating the stance swap during the dodge recovery.
Advanced Combo Chains and Animation Canceling
Advanced combat revolves around the Morph Cancel, a technique where you swap weapon forms during a dodge animation. For example, you can start a heavy hammer slam, cancel the recovery with a Gravity Shift behind the enemy, and instantly swap to Dual Wield for a rapid flurry of strikes. This sequence alone can break the Posture of most elite enemies in a single, fluid motion.
The community has already begun cataloging these combos, with many players reporting that the Morph Cancel is essential for the game’s harder difficulty modes. The timing is tight, requiring you to input the weapon swap at the very end of the dodge animation. Mastering this technique is what separates a standard playthrough from a high-skill, aggressive run.
| Combo Name | Input Sequence | Primary Use | Difficulty |
|---|---|---|---|
| Breach and Clear | Blade L1 → L2 → Quickstep → Hammer H1 | Gap closing and stagger | Beginner |
| Phantom Flanker | Hammer H1 → Gravity Shift (behind) → Dual Wield L1 → L2 → L3 | Bypassing shields | Intermediate |
| Morph Cancel Loop | Any heavy attack → Gravity Shift → Weapon Swap → Light chain | Maximum DPS rotation | Advanced |
| Parry Punisher | Perfect Parry → Hammer H2 → Quickstep cancel → Blade L1 → L2 | Counter-attack burst | Expert |
Stamina and Energy Management for Sustained Combat
Aggressive dodge and parry playstyles are gated by your resources. Stamina is a regenerating bar that fuels your Quickstep and melee attacks, while Energy powers your Gravity Shift and paranatural abilities. Running out of Stamina mid-combo leaves you unable to dodge, which is a death sentence against late-game bosses. The Aberrant’s morphing attacks also consume Stamina, so you must constantly balance offense and defense.
A common pitfall is over-using the Gravity Shift for mobility, leaving you without the Energy to dodge an unblockable Resonant Blast. A good rule of thumb is to keep at least one bar of Energy in reserve for emergencies. The Kinetic Siphon passive ability, which restores Energy on successful parries, is a cornerstone of any build that plans to use Gravity Shift aggressively.
Enemy Attack Patterns and Counter-Strategies
Every enemy in the West Incursion Zone has a unique attack pattern that dictates your optimal defensive response. Learning these patterns is not optional; it is the core gameplay loop. The Hiss faction relies on erratic, fast-paced projectiles, while the Mold faction uses slow, heavy-hitting area-of-effect attacks. The game’s combat design, as detailed in early previews on the official Xbox Wire, emphasizes quick, flow-heavy combat where movement is your best shield.
The Hiss Guard, a common enemy, uses a three-hit combo with a distinct audio cue before the third, unblockable strike. You can parry the first two hits, but the third must be dodged with a Gravity Shift. In contrast, the Mold Brute has slow, telegraphed swings that deal massive Posture damage if blocked, making parrying the superior option for creating an opening. For a complete breakdown of all enemy attack patterns, the control resonant combat combos list is an invaluable resource.
Countering Ranged and AoE Attacks
Ranged enemies like the Hiss Sniper require a different approach. Their projectiles can be deflected with a well-timed parry, but the timing is extremely tight. A safer strategy is to use lateral Quicksteps to close the distance, forcing them into melee mode. The Mold Spore enemy blankets the ground with damaging zones, making the Gravity Shift the only reliable way to navigate the area without taking chip damage.
The game’s most dangerous attacks are the red-tinged, unblockable moves. These cannot be parried and will break your posture instantly if blocked. The only counter is to dodge, and the game provides a generous audio-visual cue. The screen will briefly flash, and a distinct low-frequency hum will play, giving you a moment to react with a Quickstep or Gravity Shift.
Optimizing Your Build for an Evasion-First Playstyle
Your choice of Aberrant Artifacts and passive abilities should directly support your defensive playstyle. If you rely on parries, you will want artifacts that boost Posture Damage and increase the Perfect Parry window. If you are a dodge-heavy player, artifacts that reduce Stamina cost and increase i-frame duration are essential. The game’s progression system, as outlined on the official Steam page, is designed to let you tailor Dylan’s abilities to your preferred combat identity.
A powerful synergy for an evasion build is the Phase Runner artifact combined with the Wind Walker passive. Phase Runner extends the invincibility frames of your Quickstep, while Wind Walker grants a burst of movement speed after a perfect dodge. This combination allows you to effortlessly dance through enemy attacks, repositioning for backstabs and charged heavy attacks.
Artifact and Passive Synergy Table
The following table outlines the core artifacts and passives for a dodge-focused build, based on community theorycrafting from the r/controlgame subreddit. These items are designed to create a self-sustaining loop of evasion, resource generation, and burst damage.
| Artifact / Passive | Effect | Synergy |
|---|---|---|
| Phase Runner | Extends Quickstep i-frames by 15% | Core defensive layer |
| Wind Walker | 20% movement speed after a perfect dodge | Repositioning and chasing |
| Kinetic Siphon | Restores 10 Energy on a successful parry | Enables aggressive Gravity Shifts |
| Counter-Force | +30% Posture damage on parried enemies | Turns parries into instant staggers |
| Aetherial Dash | Gravity Shift leaves an afterimage that taunts | Crowd control and distraction |
Frequently Asked Questions
How do I consistently land a Perfect Parry in CONTROL Resonant?
Focus on the enemy’s weapon arm, not their body. The parry window opens just as the attack transitions from its wind-up to the forward swing. For most Hiss Guards, this is a 6-8 frame window at 60 FPS. Practice against a single enemy to learn the rhythm before attempting it in group fights.
What is the difference between a Quickstep and a Gravity Shift?
A Quickstep is a short-range dash that costs Stamina and has a brief invincibility window, making it ideal for dodging fast attacks. A Gravity Shift is a teleport that costs Energy, provides full invulnerability during the animation, and is used to avoid unblockable or area-of-effect attacks.
Can I cancel my attack animations to dodge mid-swing?
Yes, this is a core advanced technique called a Morph Cancel. You can cancel the recovery frames of heavy attacks with a dodge, and even swap weapon forms during the dodge animation. This allows you to chain heavy hammer slams into fast dual-blade combos seamlessly.
How do I counter unblockable attacks in the game?
Unblockable attacks are indicated by a red visual flash and a distinct low-frequency audio cue. You cannot block or parry these moves. You must use either a Quickstep to dodge laterally or a Gravity Shift to phase through the attack entirely.
What is the best build for a dodge-focused playstyle?
The most effective dodge build combines the Phase Runner artifact with Wind Walker for extended i-frames and a 15% movement burst after a perfect dodge. Upgrade the Aberrant's twin-blade form for faster recovery, and prioritize Gravity Anomalies to create vertical escape routes during boss fights.