
Combat
CONTROL Resonant combat guide — fast melee combat, dodging, parries, combos, enemy attack patterns, boss strategies and crowd-control tactics.
Introduction
The Combat hub is the tactical core of CONTROL Resonant, dedicated to the game's fast, melee-focused fighting. Remedy and IGN describe the pace as closer to character action than to a Soulslike — quick, flowing and built around dodging, form-switching and aggressive pressure. This hub covers the fundamentals: how movement and dodging keep you alive, how to chain Aberrant combos between hammer and twin blades, how to use abilities and environment to control crowds, and how to learn enemy patterns for the Hiss, the Mold and the bosses. We also cover positioning, crowd control, damage types and the differences between the three playstyles in combat. Because exact combo inputs and boss rosters are not fully public, guides emphasize principles and confirmed mechanics over invented move lists.
Combat Skill Roadmap
| Step | Focus | Key Idea |
|---|---|---|
| Step 1 | Movement | Dodging and evasion are the foundation — stay alive, stay mobile |
| Step 2 | Form Flow | Swap Aberrant forms mid-combo to answer enemy patterns |
| Step 3 | Abilities | Layer elemental and supernatural power onto melee chains |
| Step 4 | Environment | Use gravity anomalies and hazards to control the room |
| Step 5 | Bosses | Learn attack patterns and punish windows for every threat |
Combat Technique Guides
Movement & Dodging
The foundation of CONTROL Resonant combat — how dodging, spacing and repositioning keep you alive against possessed rushes, Mold spawns and boss attacks. Movement also creates better positioning for environmental kills, letting you kite enemies into hazards that otherwise waste time, and it keeps your options open for a clean form switch.
Form-Switch Combos
How to chain Aberrant forms mid-combo — heavy to blades, cancel into new swings, and layer abilities between weapon morphs for pressure and burst. Mastery of the form switch is the difference between a flashy combo and a failed one, so practice the cancel window on slower enemies before trying it on bosses.
Crowd Control
When you are outnumbered, positioning and environment win — grouped enemies die to hammer swings, elemental bursts and well-used gravity hazards. Crowd control also means knowing when to retreat, because a staggered crowd is worthless if you are out of position and cannot finish the follow-up safely.
Boss Strategies
How to approach boss fights — learn attack patterns, find punish windows and prepare the right forms and abilities for each paranatural threat. Boss fights also demand patience during the learning phase, so spend your first attempts just watching the pattern before you commit to punishment windows.
Elite & Miniboss Tactics
How to handle the tougher mid-tier threats — armored Hiss, spawned Mold clusters and miniboss-style elites that demand pattern awareness and full-kit pressure rather than raw aggression. Elite encounters often combine multiple threat types, so a balanced kit that can switch between crowd control and single-target pressure is the safest loadout to bring.
Core Mechanics
Combat in CONTROL Resonant is fast, melee-first and rhythm-based. Unlike the gun-focused Service Weapon play of CONTROL (2019), you fight in close with the Aberrant, morphing between heavy hammer blows and quick blade chains to answer enemy behavior. Dodging and evasion carry enormous weight: previews describe a game where moving well is as important as attacking well, and where fights reward aggression you can control. Abilities layer on top — elemental bursts for damage, supernatural movement for repositioning, environmental powers to bend the battlefield. Enemy variety spans the Hiss's possessed thralls, the Mold's infections and elite and boss encounters, each demanding pattern recognition, crowd awareness and smart use of the full kit. The official three-playstyle structure means your combat identity changes based on how you invest progression.
Advantages
A combat hub gives you the principles to survive and thrive from the first fight. Instead of mashing buttons and hoping, you learn the core loop: read the enemy, choose the right Aberrant form, dodge through threats, chain combos, and use abilities at key windows. Structured guides break combat into steps — movement, form flow, abilities, environment, bosses — so you can train one layer at a time instead of being overwhelmed. For players who enjoy mastery, the hub also explains how the three playstyles change your combat rhythm, and it links to build guides so your progression investment matches your preferred fighting style.
Challenges
Combat coverage is constrained by pre-release secrecy: Remedy and previews have confirmed the fast pace, the melee identity, form-switching and the absence of a Soulslike rhythm, but exact combo inputs, damage values, stagger mechanics and the full boss roster are not public. Our guides stick to confirmed principles and clearly mark mechanics like parries, finishers and damage types as expected rather than verified. After launch, the hub must be rebuilt with real move data, boss behavior notes and balance-informed tier advice, so expect early guides to be foundational rather than final. After launch, real combo data, boss rosters and balance information must replace our principles-first approach, and because combat depth is the game's core appeal the guides will need frequent updates as the community discovers advanced tactics.
Frequently Asked Questions
Is CONTROL Resonant a Soulslike?+
How does the Aberrant change combat?+
How do I fight the Hiss and the Mold?+
Quick Tips
Master movement before combo optimization: dodging and repositioning keep you alive, create punish windows and let you control entire fights. Practise against early Hiss thralls, using your objective to avoid damage rather than just dealing it, and you will carry that habit into elite and boss encounters where one dodge can decide the fight. The fast melee pace rewards players who treat positioning as an active skill.
Switch Aberrant forms when the enemy changes behavior, not on a fixed rotation: blades for speed and pressure against mobile targets, hammer for crowds and armored enemies, and both layered with abilities when the moment is right. This read-based switching is what Remedy means by the fight shifts, your weapon shifts with it. Practise during quiet fights so the morph becomes automatic before the difficulty ramps.
Use the environment early and often — debris, gravity anomalies and warped architecture are combat tools, not scenery. When a fight gets crowded, kite enemies through hazards and use elemental bursts to stagger groups, saving your single-target pressure for elites. Cross-reference the Locations hub for each zone's unique hazards and the Builds hub for which playstyle turns environment use into a primary combat identity.
Featured
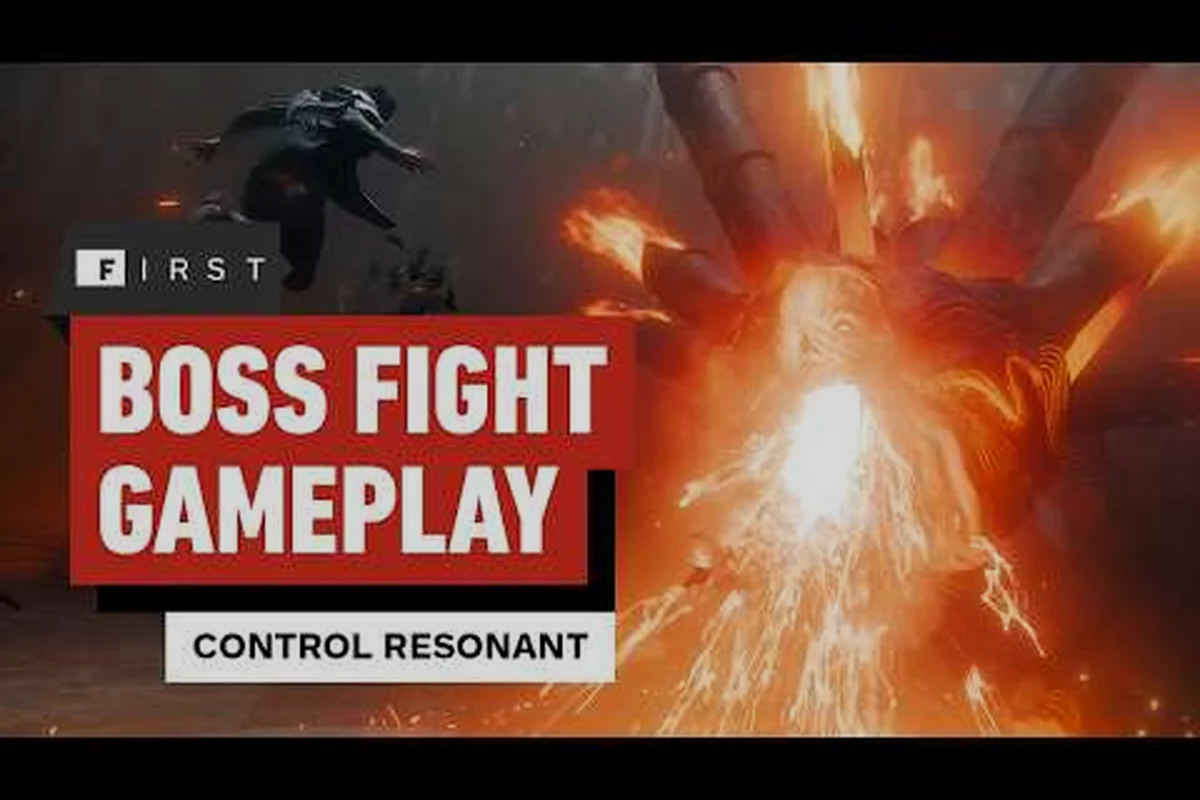
CONTROL Resonant Boss Strategies: Phases and Attack Cues
Master every control resonant boss strategies encounter with precise phase breakdowns, attack cues, and counter windows for the West Incursion Zone.

CONTROL Resonant Combat Combos List: Boss Fights & Patterns
Master every melee sequence with this control resonant combat combos list. Counter Hiss and Mold, exploit attack patterns, and crush Resonant bosses fast.

CONTROL Resonant Combat Guide: System, Melee & Dodge Tips
Master fast-paced melee combat with this CONTROL Resonant combat guide. Learn how the action RPG system works, chain combos, and exploit enemy weaknesses.
All Articles
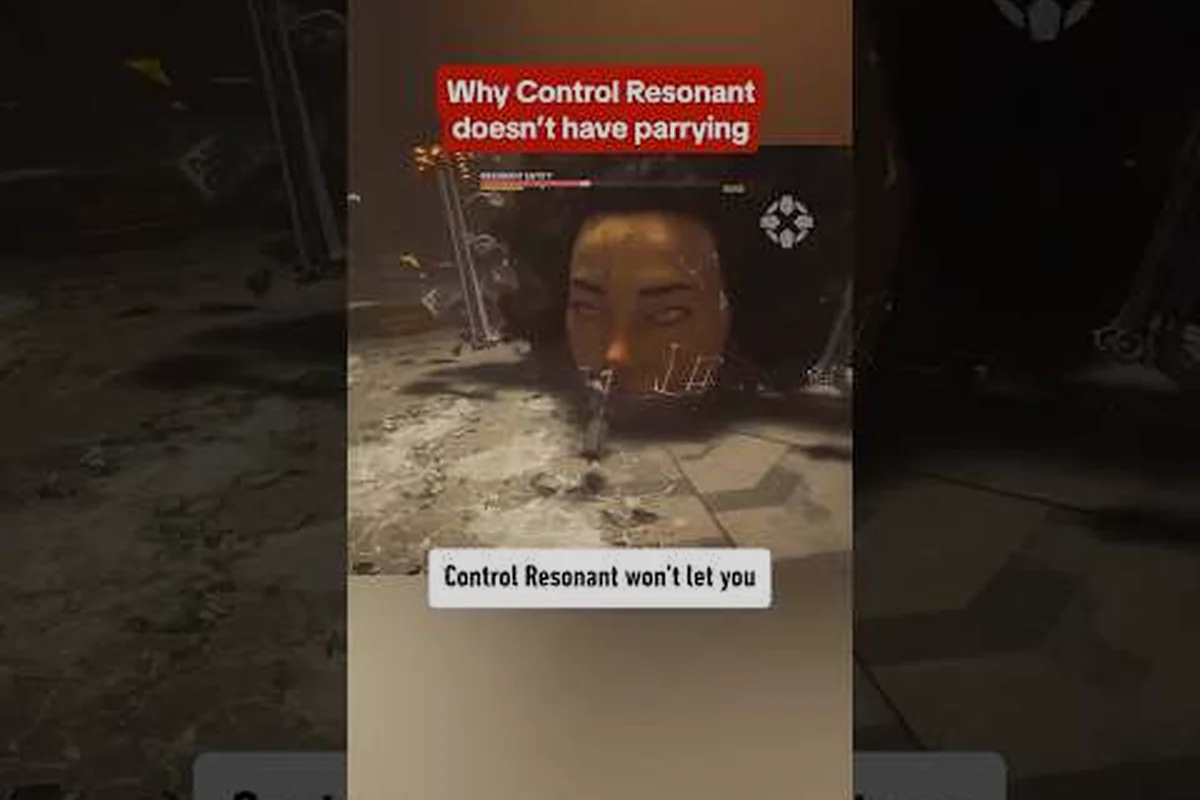
CONTROL Resonant How to Dodge: Evasion, Parry & Combos
Master evasion and parry timing in control resonant how to dodge with frame-perfect counters and combo chains. Dominate the West Incursion Zone today.
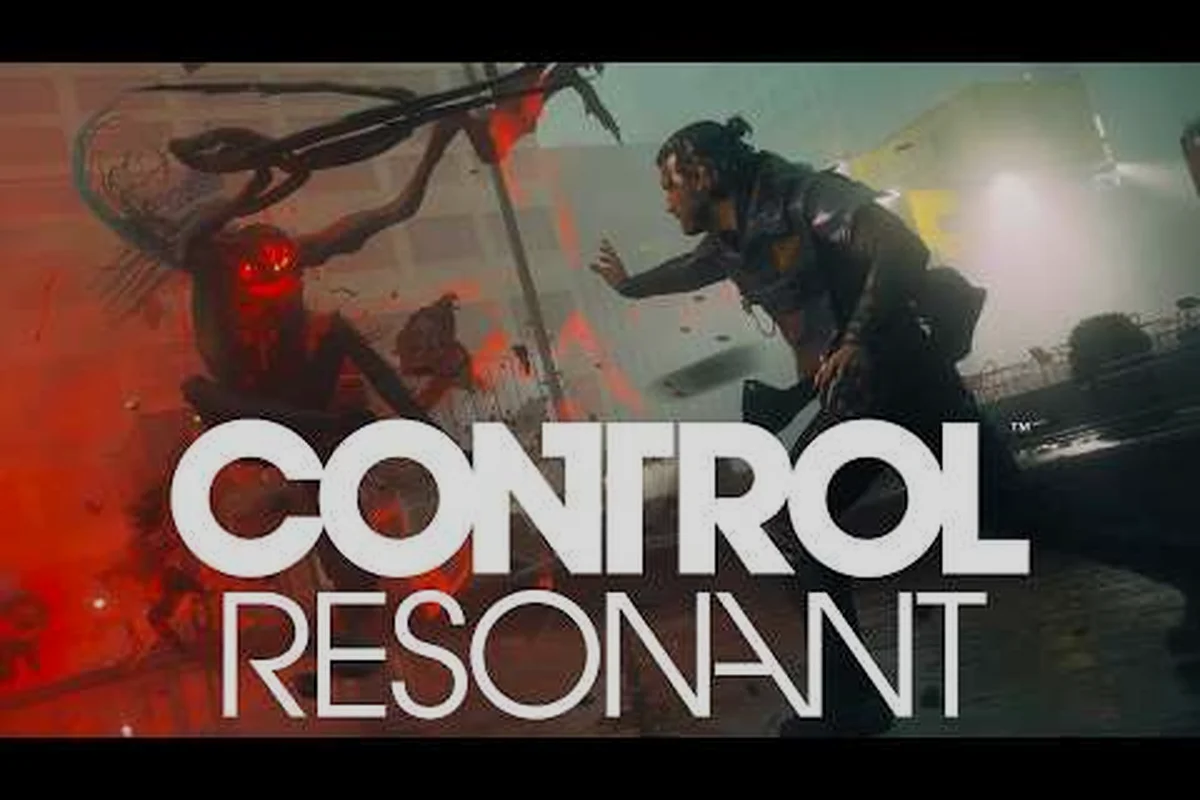
CONTROL Resonant One vs Many Combat Tips: Hazard Use
Dominate group fights with CONTROL Resonant one vs many combat tips. Learn positioning, environmental attacks, and crowd control to survive swarming enemies.
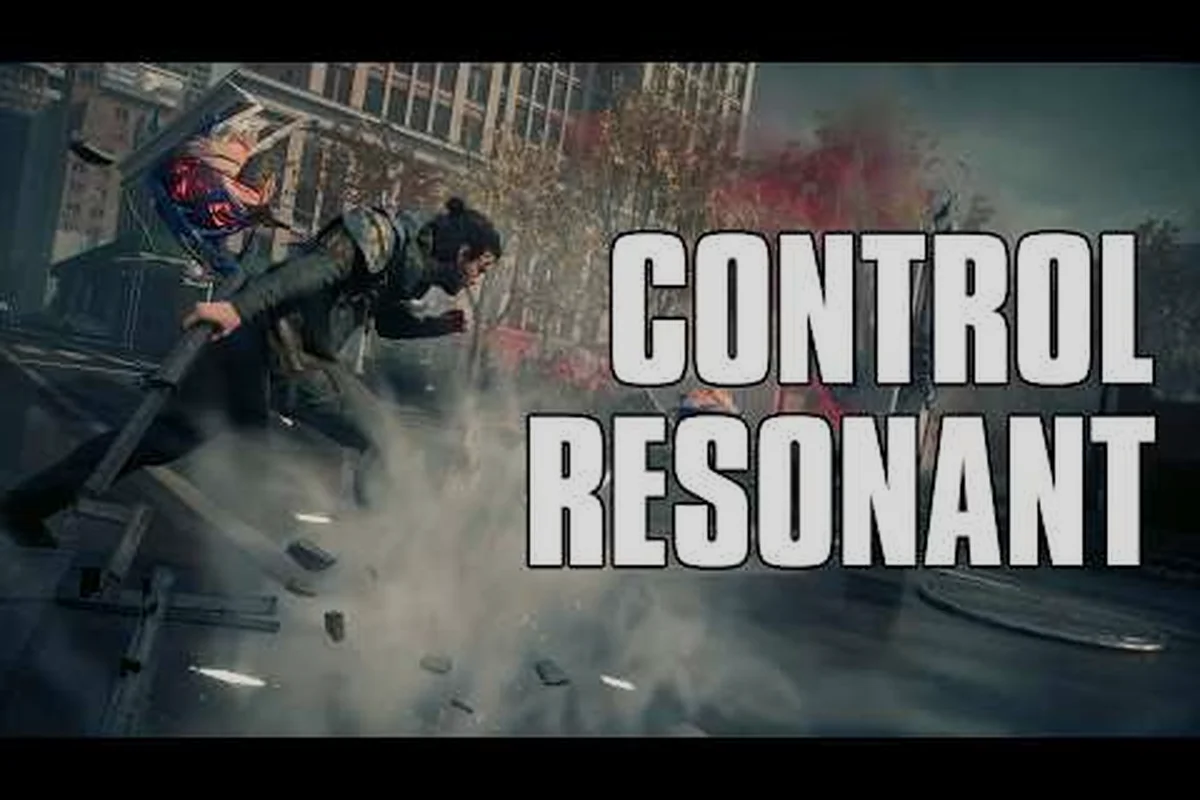
CONTROL Resonant Stagger Mechanics: Chain Stuns & Finishers
Master crowd control with control resonant stagger mechanics—break enemy posture, chain stuns, and execute brutal finishers for devastating combat combos.
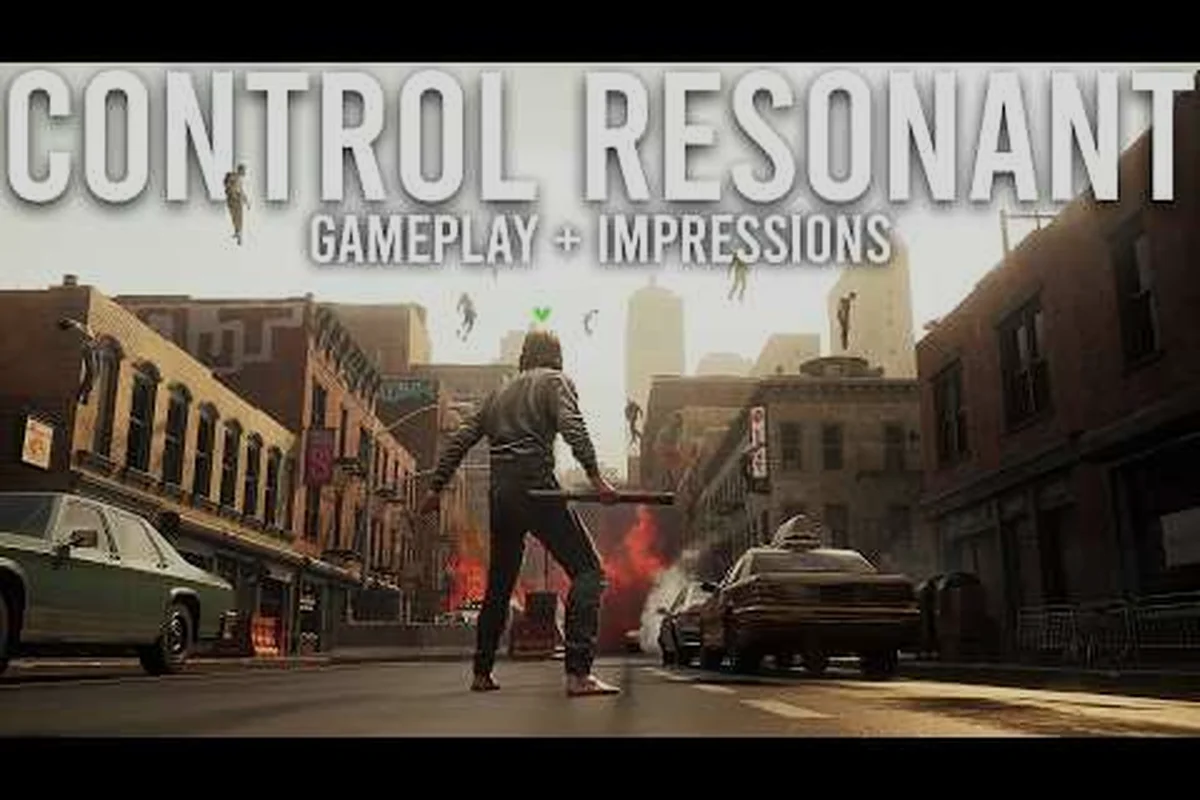
CONTROL Resonant Elemental Weaknesses: Damage Counters
Exploit control resonant elemental weaknesses to conquer hard mode. Compare damage types, master fire, ice, and shock powers, and avoid common combat mistakes.