
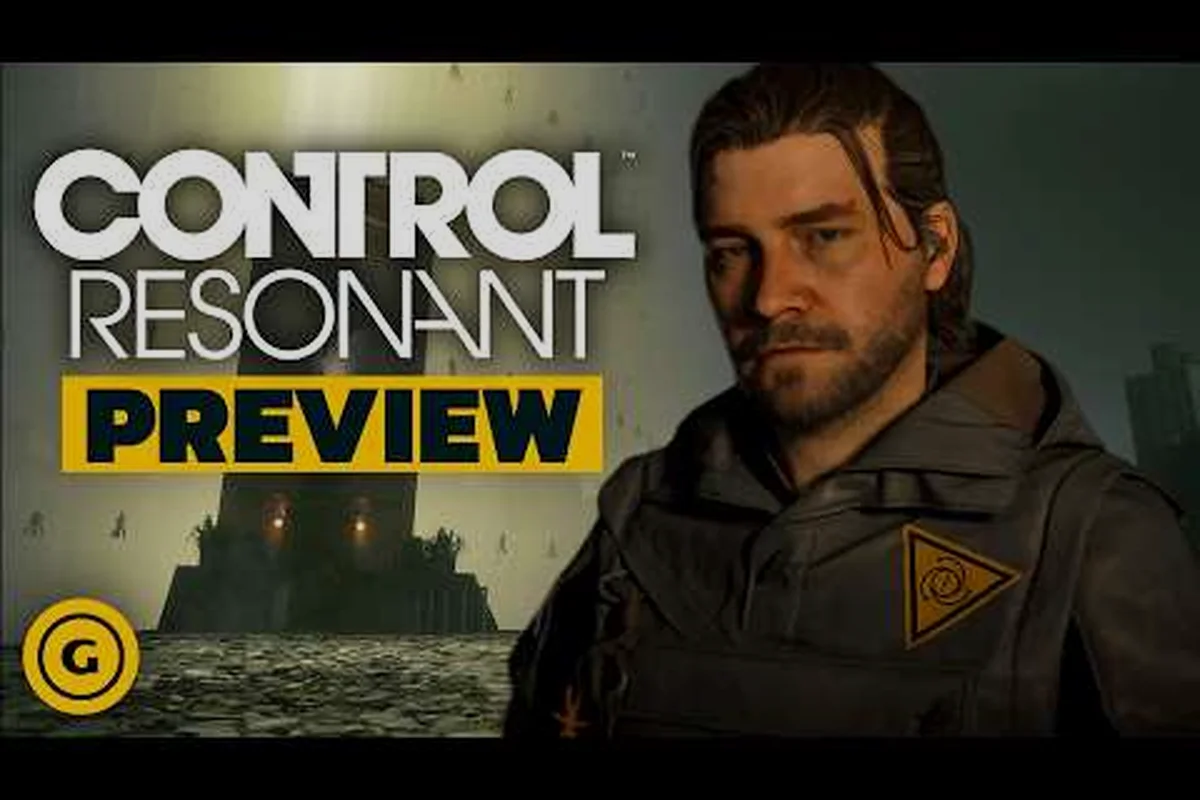
CONTROL Resonant redefines third-person action with a melee-focused combat system that swaps firearms for a living shapeshifting weapon called The Aberrant. Unlike the original CONTROL's Service Weapon, success here depends on reading enemy attack patterns, chaining morphing combos, and exploiting environmental chaos to survive the paranatural invasion of Manhattan. This control resonant combat guide breaks down the system layer by layer so you can master the rhythm of Remedy's fastest combat engine yet.
Understanding the Core Combat Philosophy
The combat in CONTROL Resonant is designed around fluid aggression and constant movement, which IGN's first-look coverage describes as closer to a character action game than a Soulslike. The core loop revolves around three distinct gameplay routes confirmed by the official Xbox Wire announcement: raw melee power, ability-driven agility, and environmental manipulation. Your effectiveness depends on how well you blend these routes together during a fight.
The system rewards players who stay mobile and aggressive rather than those who hang back and wait for openings. Every enemy has a rhythm, and your job is to disrupt it with The Aberrant's morphing attacks while managing your Resonance Energy for parautilitarian abilities. The faster you move between targets, the more momentum you build, which directly increases your damage output through the Momentum Multiplier mechanic.
| Combat Route | Primary Focus | Key Mechanic | Risk Level |
|---|---|---|---|
| Raw Melee Power | High burst damage with hammer form | Shatter Strike timing | Medium |
| Ability-Driven Agility | Rapid repositioning and crowd control | Phase Dash chaining | High |
| Environmental Manipulation | Using objects and hazards | Gravity Anomalies | Low |
The control resonant combat system explained through these routes shows how Remedy designed encounters to test your adaptability. You cannot rely on a single approach for every fight, because enemies adapt to your patterns over the course of longer engagements. The Mold enemies, for example, regenerate health if you stay at range too long, while Hiss variants punish reckless aggression with area-denial attacks.
The Three Combat Routes in Detail
Raw melee power emphasizes the hammer form of The Aberrant, which deals devastating single-target damage but leaves you vulnerable during recovery frames. This route works best against armored enemies and bosses, where landing a fully charged Shatter Strike can break through defenses and open up critical hit windows. However, you need to carefully manage your positioning because the hammer form's slow swing speed makes you an easy target for faster enemies.
Ability-driven agility relies on parautilitarian powers that let Dylan phase through attacks, create decoys, and reposition instantly. This route excels in crowd control scenarios where you face multiple fast-moving targets. The Phase Dash ability consumes Resonance Energy but provides invincibility frames, making it essential for surviving boss encounters with unblockable attacks. Players who master the timing can chain dashes together to stay permanently mobile.
Environmental manipulation transforms the battlefield itself into a weapon. The West Incursion Zone features Gravity Anomalies that alter how you traverse the city, and you can trigger these during combat to crush enemies with debris or launch them into hazards. This route requires the least direct engagement but demands excellent spatial awareness and resource management.
Mastering The Aberrant's Morphing Forms
The Aberrant is not a static weapon, and understanding its form-switching mechanics is the foundation of advanced play. According to the official Steam page, this living weapon morphs between hammer and twin-blade configurations, each with unique combo strings and special properties. The transition between forms happens seamlessly mid-combo, which means you can start a hammer slam and finish with a blade flurry without dropping your damage multiplier.
The hammer form excels at breaking enemy Guard Gauges and dealing massive burst damage to single targets. Its charged attacks create shockwaves that stagger nearby enemies, giving you breathing room in crowded fights. The twin-blade form sacrifices raw damage for attack speed and mobility, allowing you to apply status effects quickly and interrupt enemy attacks with rapid strikes.
| Form | Attack Speed | Damage | Special Property | Best Against | |---|---|---|---| | Hammer | Slow | Very High | Breaks Guard Gauges | Armored enemies, bosses | | Twin-Blades | Very Fast | Moderate | Applies status effects | Groups, fast enemies | | Morph Combo | Variable | High | Transitions mid-string | Adaptable situations |
The real depth of The Aberrant comes from morph combos, where you switch forms during an attack string to adapt to changing situations. For example, you can start with a hammer overhead to break a guard, morph to twin-blades for a flurry of slashes, and finish with a hammer uppercut to launch the enemy. This control resonant melee combat guide emphasizes that morph combos are not optional flash—they are essential for maximizing damage output against tougher enemies.
Weapon Swap Techniques
Switching between hammer and twin-blade forms requires precise timing, but the game provides visual and audio cues to help you master the rhythm. The Aberrant pulses with energy when a morph window is available, and Dylan's stance shifts slightly to indicate the next form. Practice the basic morph combo in the training area until you can execute it without looking at the UI, because in actual combat you need to focus on enemy movements rather than your weapon indicator.
The control resonant melee combat tips from community testing suggest that morphing during a dodge cancel is the safest way to switch forms under pressure. If you initiate a dodge and input the morph command during the recovery frames, Dylan will emerge from the dodge with the new form ready, allowing you to immediately continue your offense without dropping your combo chain.
Advanced Dodging and Movement Mechanics
Movement in CONTROL Resonant is not just about avoiding damage—it is your primary tool for controlling the flow of battle. The control resonant dodging guide starts with understanding that your dodge has invincibility frames at the start of the animation, which means you can phase through attacks if you time it correctly. However, spamming dodge will quickly deplete your stamina and leave you vulnerable, so you need to learn which attacks to dodge and which to interrupt.
The Phase Dash ability adds a layer of complexity by consuming Resonance Energy instead of stamina, giving you a second movement resource to manage. Phase Dash teleports Dylan a short distance and provides extended invincibility frames, making it ideal for escaping area-denial attacks or closing gaps against ranged enemies. The key is to alternate between regular dodges and Phase Dashes so you never exhaust either resource completely.
| Movement Option | Resource Cost | Invincibility Frames | Best Use Case |
|---|---|---|---|
| Standard Dodge | Stamina | Short | Avoiding telegraphed attacks |
| Phase Dash | Resonance Energy | Extended | Escaping unblockable attacks |
| Sprint | Stamina (drain) | None | Repositioning between fights |
| Gravity Anomaly Launch | None | None | Vertical repositioning |
Positioning is equally important as dodging, especially in the West Incursion Zone where Gravity Anomalies create floating debris fields and shifting terrain. Enemies can attack from unexpected angles, and the environment itself can become a hazard. According to Remedy's official gameplay details, the open zones are large and distinct, which means you often have room to kite enemies into choke points or environmental traps.
Reading Enemy Attack Patterns
Every enemy type in CONTROL Resonant has a unique attack pattern that you can learn and exploit. The Hiss variants use telegraphed melee combos with occasional ranged attacks, while Mold enemies rely on area-denial abilities and health regeneration. The cosmic entity reshaping Manhattan introduces enemies that warp the environment, creating hazards that force you to stay mobile.
The control resonant fast paced combat system rewards players who recognize attack tells and respond with the appropriate counter. A red flash indicates an unblockable attack that requires a dodge or Phase Dash, while a white flash signals a parryable strike that you can deflect with a well-timed guard. Learning these visual cues is essential because the game's difficulty scales with your progression, and later enemies mix up their patterns to keep you on edge.
Environmental Combat and Gravity Anomalies
The battlefield in CONTROL Resonant is not just a backdrop—it is an active participant in every fight. The West Incursion Zone features Gravity Anomalies that alter the laws of physics, creating opportunities for creative combat strategies. You can launch enemies into floating debris, crush them with suspended objects, or use altered gravity to perform aerial combos that are impossible in normal conditions.
Environmental manipulation is one of the three core gameplay routes, and it synergizes particularly well with the ability-driven agility style. When you Phase Dash through a Gravity Anomaly, your momentum carries you further and your next attack gains bonus damage. This creates a natural flow where you dash through anomalies, launch enemies into the air, and follow up with aerial combos that keep your Momentum Multiplier climbing.
The control resonant action rpg combat system integrates these environmental elements seamlessly, which means you should always scan the battlefield for hazards before engaging. Explosive barrels, unstable structures, and Gravity Anomalies can all be triggered to deal massive damage to groups of enemies. The key is to position yourself so that enemies cluster near these hazards, then trigger them with a ranged ability or a well-placed morph combo that sends enemies flying.
| Environmental Hazard | Trigger Method | Damage Type | Effect Radius |
|---|---|---|---|
| Explosive Barrels | Melee strike or ranged ability | Fire | Small |
| Unstable Structures | Heavy hammer slam | Physical | Large |
| Gravity Anomalies | Phase Dash through | Kinetic | Variable |
| Suspended Debris | Ability activation | Physical | Medium |
Community reports from the CONTROL Resonant subreddit suggest that environmental kills grant bonus experience and sometimes trigger secret loot drops. Players have discovered hidden areas by launching enemies into specific Gravity Anomalies, which opens temporary portals to reward rooms. This adds an exploration incentive to creative combat, encouraging you to experiment with different environmental interactions rather than relying solely on weapon damage.
Progression and Combat Build Optimization
Your combat effectiveness grows through a deep progression system where choices determine how your powers manifest and grow. The skill tree branches into the three core routes, and you can specialize in one or hybridize across multiple paths. However, spreading your points too thin will leave you mediocre at everything, so the control resonant combat guide recommends focusing on one primary route while picking up essential utility skills from the others.
The weapon upgrade system allows you to enhance specific forms of The Aberrant, which means you can tailor your damage output to your preferred playstyle. Hammer-focused builds benefit from upgrades that increase stagger damage and guard break efficiency, while blade-focused builds should prioritize attack speed and status effect application. The morph combo system benefits from upgrades that reduce the transition time between forms, allowing for faster adaptation during combat.
Synergizing Powers and Weapon Forms
Parautilitarian abilities consume Resonance Energy, which regenerates slowly over time but can be accelerated by landing melee hits. This creates a natural feedback loop where aggressive play fuels your abilities, which in turn enable more aggression. The control resonant melee combat tips from experienced players emphasize that you should never sit on full energy—use your abilities frequently to maintain momentum and keep enemies off balance.
Understanding how powers work alongside weapon forms is crucial for advanced play. For example, the Phase Dash ability can be used to cancel the recovery frames of heavy hammer attacks, allowing you to immediately reposition after a Shatter Strike. This technique, known as dash canceling, is essential for maintaining pressure against bosses with short vulnerability windows.
| Build Type | Primary Stat | Weapon Focus | Recommended Abilities |
|---|---|---|---|
| Brute Force | Strength | Hammer | Shatter Strike, Ground Slam |
| Speed Demon | Agility | Twin-Blades | Phase Dash, Blade Flurry |
| Controller | Resonance | Morph Combo | Gravity Well, Debris Shield |
| Hybrid | Balanced | Both | Dash Cancel, Morph Mastery |
The control resonant one vs many combat tips guide provides deeper strategies for handling groups, but the core principle is to use environmental hazards and crowd control abilities to prevent enemies from surrounding you. The Gravity Well ability pulls enemies together, setting up perfect opportunities for area-of-effect hammer slams or blade flurries that hit multiple targets simultaneously.
Frequently Asked Questions
How does the Momentum Multiplier work in combat?
The Momentum Multiplier increases your damage output based on consecutive hits without taking damage. It decays slowly when you stop attacking, so maintaining aggression is essential for maximizing your damage. The multiplier caps at 5x but can be extended through specific skill tree upgrades.
What is the best weapon form for beginners?
The hammer form is the best weapon form for beginners. Its high damage per hit reduces time spent exposed during attack animations, making it more forgiving while learning enemy patterns. Transition to the twin-blade form later to develop tighter positioning habits against the Hiss and Mold.
Can I respec my skill tree in CONTROL Resonant?
Yes, the game allows you to respec your skill points at specific locations throughout the West Incursion Zone, though the cost increases with each respec. Community reports suggest that the first respec is free, but subsequent respecs require increasingly rare materials that are best saved for weapon upgrades.
How do I deal with enemies that regenerate health?
Counter Mold-type enemies by applying constant pressure with the Aberrant's twin-blade form to stack damage-over-time effects that neutralize regeneration. Then morph to hammer form for burst damage while the DoT is active. Use abilities that slow or immobilize to reduce their healing windows.
What is the best way to practice advanced techniques?
The training area in the main hub lets you spawn specific enemies and practice risk-free. Master one technique at a time: start with basic morph combos using The Aberrant’s hammer and twin-blade forms, then add dash canceling, and finally incorporate environmental kills using Gravity Anomalies.