
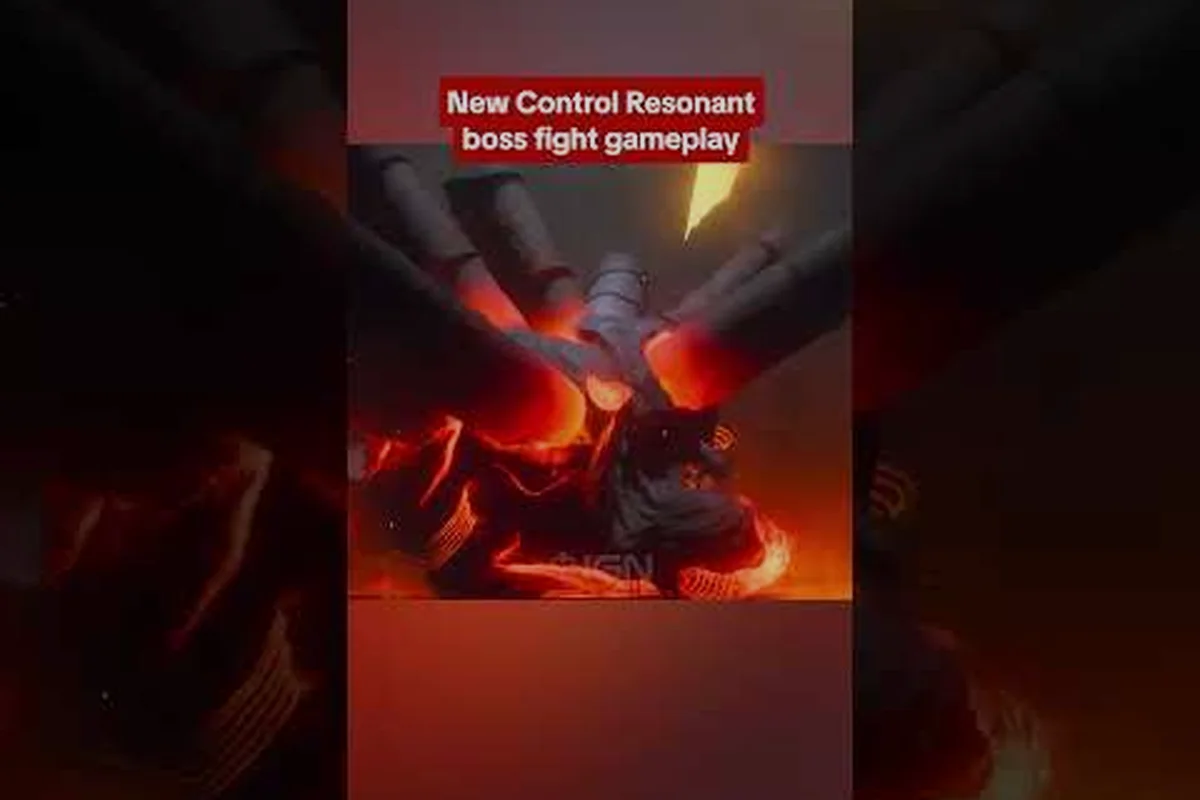
The West Incursion Zone reshapes combat into a brutal test of recognition and reaction, where control resonant elite enemies demand mastery of attack patterns rather than simple damage trading. Understanding the distinct behaviors of Hiss, Mold, and possessed types transforms a chaotic encounter into a calculated takedown. According to the official CONTROL Resonant on Steam page, the game's melee-focused combat with The Aberrant requires exploiting enemy weaknesses to survive, which makes enemy knowledge a core survival skill rather than an optional deep dive.
Understanding Control Resonant Elite Enemy Archetypes
Elite enemies function as roaming field commanders that elevate standard encounters into tactical puzzles. Unlike common foes that rush toward Dylan Faden with predictable patterns, elites introduce area denial, status afflictions, and adaptive behaviors that punish button mashing. The game distributes these threats across three primary factions—the Hiss, the Mold, and possessed humans—each with a unique combat philosophy that forces you to switch The Aberrant between its hammer and twin-blade forms on the fly.
The West Incursion Zone amplifies elite difficulty through environmental hazards that compound enemy abilities. A Hiss Distorter becomes significantly more dangerous in a confined subway tunnel where its teleportation limits your escape vectors, while a Mold Behemoth in an open plaza can freely spread its spore clouds without walls to contain the area denial. Community reports confirm that elite spawn locations shift based on the Gravity Anomalies active in the zone, which means the same enemy type might appear in different tactical contexts depending on the current map state.
Hiss Elite Archetypes
Hiss elites channel the resonant frequency of the Hiss invasion into aggressive, distortion-based combat. They excel at disrupting your positioning and punishing stationary play, which makes them the most mechanically demanding faction to fight. The core principle against Hiss elites is maintaining mobility while exploiting brief vulnerability windows after their teleportation sequences.
Hiss Distorters serve as the most common elite variant and teach the fundamental lesson of Hiss combat: never stand still. They warp behind Dylan after a brief visual distortion and execute a rapid three-hit combo that can drain half a health bar if all strikes connect. The counter involves dodging toward their original position immediately after they vanish, which creates distance and forces them to waste their ambush window. Players report that The Aberrant's twin-blade form works best here because the faster attack speed lets you interrupt their combo startup if you react within the first few frames.
Hiss Warpers escalate the threat by manipulating space rather than simply repositioning. They create unstable rifts that pull Dylan toward a central point, which sets up devastating area-of-effect bursts if you fail to break the tether. The key insight involves recognizing the rift's visual cue—a shimmering purple distortion that pulses three times before detonating—and using the hammer form's charged heavy attack to shatter the rift before the third pulse. This interaction rewards players who invest in the environment manipulation route, as shattered rifts release a concussive blast that staggers nearby enemies.
Hiss Resonators represent the faction's support elite and should always be your priority target in mixed encounters. They channel a buffing aura that increases nearby Hiss attack speed and damage resistance, which can turn a manageable fight into an overwhelming one within seconds. The Resonator itself has low health but frequently teleports behind allied enemies, so you need to clear a path through the frontline before committing to the takedown. A detailed breakdown of Hiss enemy interactions appears in the control resonant hiss characters guide for players who want deeper faction context.
Mold Elite Archetypes
Mold elites abandon the Hiss philosophy of mobility disruption in favor of area denial and attrition. They spread persistent hazard zones that limit your safe movement space, which forces you to manage positioning as a resource rather than a reaction. The longer a Mold fight continues, the less safe ground remains, so efficient damage output becomes the primary success metric.
Mold Behemoths anchor the Mold faction as walking biological artillery. They periodically slam the ground to spawn spore clouds that linger for 15-20 seconds and apply a stacking damage-over-time effect, which means standing in multiple clouds simultaneously can melt your health bar in under five seconds. The counter involves baiting the slam attack near the edge of the arena, then immediately repositioning to the opposite side to create a clean fighting space. Community testing confirms that The Aberrant's hammer form heavy attacks can stagger a Behemoth out of its slam windup if timed correctly, which prevents the spore cloud from spawning entirely.
Mold Sporecasters function as ranged support that punishes passive play. They launch homing spore projectiles that track Dylan for several seconds and leave small hazard pools on impact, which compounds the space denial pressure when combined with a Behemoth's larger clouds. The optimal approach involves closing distance aggressively with the twin-blade form's dash attack, which grants brief invincibility frames that can phase through the projectiles. Players who master this timing can turn the Sporecaster's own attacks into traversal tools rather than threats.
Mold Infestors represent the faction's most dangerous elite because they convert fallen enemies into additional threats. They target corpses within the arena and spawn Mold Spawns that rush toward Dylan with explosive attacks, which creates a compounding difficulty curve if you fail to eliminate the Infestor quickly. The strategy involves kiting the Infestor away from corpse clusters using the hammer form's charged attack knockback, then switching to twin-blades for the rapid damage needed to secure the kill before reinforcements arrive. For a comprehensive look at Mold faction lore and behavior, the control resonant mold lore overview provides essential context.
Possessed Elite Archetypes
Possessed elites represent humans corrupted by the cosmic entity reshaping Manhattan, and they blend the tactical awareness of trained FBC operatives with paranatural enhancements. Unlike Hiss and Mold enemies that follow faction-specific patterns, possessed elites adapt their behavior based on the weapons and abilities they wielded before corruption.
Possessed Rangers retain their FBC training and use cover, flanking maneuvers, and suppressive fire to control engagement range. They carry standard-issue FBC sidearms that deal moderate damage at medium range, but their true threat comes from coordinated behavior with other possessed units. A Ranger will pin you behind cover while a Possessed Heavy advances with a charged melee strike, which creates a pincer that requires either the hammer form's area knockback or a well-timed twin-blade dash to escape.
Possessed Heavies abandon ranged tactics entirely in favor of devastating close-quarters combat. They wield corrupted versions of FBC heavy weapons that fire slow-moving but high-damage projectiles, and their melee slam creates a shockwave that travels along the ground. The counter involves staying at medium range to bait the projectile attack, dodging laterally, then closing distance during the long recovery animation. Players report that the hammer form's charged heavy attack can trade favorably with the Heavy's slam if you initiate slightly before their windup completes.
Possessed Parautilitarians represent the most unpredictable elite variant because they retain fragments of their original paranatural abilities. Each encounter may feature a different power set—some teleport like Hiss Distorters, others create barriers like Mold Behemoths, and rare variants combine multiple abilities. The approach involves identifying their power set during the first few seconds of combat, then adapting your The Aberrant form accordingly. A parautilitarian with teleportation demands twin-blade speed, while one with barrier creation requires hammer form charged attacks to break through defenses.
Elite Enemy Weakness Exploitation and Damage Types
Control Resonant structures its damage system around three primary types that interact differently with each elite faction. Understanding these interactions transforms combat from a damage race into a strategic puzzle where weapon choice and ability timing determine success more than raw stats. The game communicates these weaknesses through visual feedback—enemies flash specific colors when struck by their weakness, which provides real-time confirmation that you are exploiting the correct damage type.
| Damage Type | Strong Against | Weak Against | Visual Cue |
|---|---|---|---|
| Resonant Strike | Hiss enemies (disrupts frequency) | Mold enemies (absorbed by biomass) | Purple flash on hit |
| Thermal Burst | Mold enemies (burns spores) | Hiss enemies (dispersed by distortion) | Orange flash on hit |
| Kinetic Force | Possessed enemies (breaks armor) | Hiss Warpers (teleport dodge) | White flash on hit |
Resonant Strike damage aligns with the Hiss's own frequency, which creates destructive interference that staggers them and prevents ability usage for several seconds. This damage type drops from Hiss Resonators and certain environmental objects, which means you can chain resonant staggers by managing your positioning near these sources. The hammer form's charged attacks naturally deal resonant damage, which makes it the optimal choice for Hiss-heavy encounters.
Thermal Burst damage exploits the Mold's biological vulnerability to heat, which causes spore clouds to ignite and deal chain damage to nearby Mold enemies. The twin-blade form's rapid attacks apply thermal buildup faster than the hammer, but the hammer's charged slam creates a wider ignition radius. Community testing confirms that combining a hammer slam to ignite all nearby spores, then switching to twin-blades for rapid thermal application on the primary target, maximizes damage output against Mold elites.
Kinetic Force damage bypasses the corrupted armor of possessed enemies, which makes it essential for breaking their stagger resistance. The hammer form naturally deals kinetic damage on all attacks, but the twin-blade form's dash attack also applies a brief kinetic burst on impact. Players who master the dash-attack-into-hammer-switch combo can stagger possessed elites in a single sequence, which opens them for a critical damage window.
Faction-Specific Weakness Table
| Elite Type | Primary Weakness | Secondary Weakness | Resistance | Recommended Aberrant Form |
|---|---|---|---|---|
| Hiss Distorter | Resonant Strike | Kinetic Force | Thermal Burst | Twin-blade (speed) |
| Hiss Warper | Resonant Strike | Thermal Burst | Kinetic Force | Hammer (rift break) |
| Hiss Resonator | Kinetic Force | Resonant Strike | Thermal Burst | Twin-blade (priority target) |
| Mold Behemoth | Thermal Burst | Kinetic Force | Resonant Strike | Hammer (slam interrupt) |
| Mold Sporecaster | Thermal Burst | Resonant Strike | Kinetic Force | Twin-blade (dash approach) |
| Mold Infestor | Thermal Burst | Resonant Strike | Kinetic Force | Hammer (knockback) |
| Possessed Ranger | Kinetic Force | Thermal Burst | Resonant Strike | Twin-blade (flanking) |
| Possessed Heavy | Kinetic Force | Resonant Strike | Thermal Burst | Hammer (charged trade) |
| Possessed Parautilitarian | Varies by ability | Kinetic Force | Varies | Adaptive switching |
The recommended Aberrant form column reflects community consensus based on extensive testing across the West Incursion Zone, but individual playstyle preferences may shift these recommendations. Players who invest heavily in the ability-driven route may find twin-blade form universally effective due to the increased dash invincibility frames, while raw melee builds benefit more from the hammer's stagger potential against armored elites.
Advanced Combat Tactics for Elite Encounters
Elite encounters in the West Incursion Zone rarely occur in isolation, which means your tactical approach must account for mixed-faction scenarios and environmental variables. The Gravity Anomalies that define each zone section introduce vertical movement options that experienced players leverage to isolate elites from their supporting units.
Vertical isolation exploits the fact that most elite enemies cannot traverse vertical space as efficiently as Dylan. Hiss Distorters can teleport upward but have a maximum vertical range, while Mold Behemoths cannot climb at all. By engaging from elevated positions, you force elites to either waste time navigating stairs or remain vulnerable to plunging attacks that deal bonus damage based on fall distance. This tactic works exceptionally well in the subway sections where maintenance platforms provide natural high ground.
Environmental hazard chaining turns the West Incursion Zone's dangerous elements into weapons. Explosive barrels, electrical panels, and unstable structures all deal damage to enemies caught in their radius, which means you can bait elites into position for massive burst damage. The hammer form's charged attack knockback can push enemies into these hazards, which creates a loop of repositioning and punishing that trivializes encounters that would otherwise require perfect dodge timing.
Ability rotation optimization becomes critical when facing multiple elite types simultaneously. The game's progression system allows you to specialize in specific ability trees, which means your rotation will vary based on your build. Players who invest in the environment manipulation route should prioritize Gravity Anomaly usage to control elite positioning, while ability-driven builds focus on chaining stagger effects across multiple targets. For a detailed breakdown of ability interactions, the control resonant combat combos guide provides frame data and combo routes.
Elite Encounter Priority System
| Encounter Composition | Priority Target | Reason | Execution |
|---|---|---|---|
| Hiss Resonator + Distorters | Resonator first | Buffs all nearby Hiss | Twin-blade rush, ignore Distorters until Resonator down |
| Mold Infestor + Behemoth | Infestor first | Spawns reinforcements | Hammer knockback to isolate, then twin-blade burst |
| Possessed Parautilitarian + Rangers | Parautilitarian first | Unpredictable abilities | Identify power set, then adaptive weapon choice |
| Mixed Hiss + Mold | Mold first | Mold area denial limits space | Thermal Burst on Mold, then switch to Resonant Strike for Hiss |
| Mixed Possessed + Hiss | Possessed first | Kinetic Force bypasses armor | Hammer form stagger chain, then cleanup Hiss |
The priority system reflects the compounding threat that certain elites represent if left unchecked, but players should always adapt to the specific arena layout. A Hiss Resonator in an open plaza with limited cover demands immediate elimination, while the same enemy in a multi-level subway station can be temporarily ignored if you use vertical space to break line of sight.
Elite Enemy Progression and Scaling
Elite enemies scale their stats and behavior based on your progression through the West Incursion Zone, which means strategies that work in early zones may fail against the same enemy type later. The scaling system primarily affects health pools, damage output, and ability frequency, but certain elites gain new attacks at specific progression thresholds.
Early zone elites (West Incursion Zone sectors 1-3) serve as tutorial encounters that teach faction mechanics in controlled environments. Hiss Distorters in these zones teleport with a longer delay and execute only two-hit combos, which gives you ample time to learn the dodge timing. Mold Behemoths spawn only one spore cloud per slam instead of the three they gain in later zones, which reduces the area denial pressure while you learn positioning fundamentals.
Mid zone elites (sectors 4-6) introduce mixed-faction encounters and environmental hazard combinations that test your ability to adapt strategies. Hiss Warpers begin spawning alongside Mold Sporecasters, which creates situations where you must manage both teleportation threats and area denial simultaneously. The game expects you to have invested in at least one ability tree by this point, which provides the tools needed to handle these compound threats.
Late zone elites (sectors 7-9) feature maximum-stat versions of every elite type with full ability sets and reduced telegraph windows. Hiss Distorters in these zones teleport almost instantly and execute four-hit combos that can kill you from full health if all strikes connect. Mold Behemoths spawn spore clouds on every third attack rather than only on slam attacks, which transforms them from predictable artillery into constant area denial threats. Players report that late-zone elite encounters require mastery of The Aberrant's form-switching mechanics, as you need to rapidly alternate between hammer stagger and twin-blade burst damage to keep pace with enemy aggression.
Elite Scaling Table by Zone
| Zone Tier | Elite Health Modifier | Damage Modifier | New Abilities | Recommended Player Level |
|---|---|---|---|---|
| Sectors 1-3 | 1.0x | 1.0x | Basic patterns only | 1-10 |
| Sectors 4-6 | 1.5x | 1.3x | Mixed-faction spawns | 11-20 |
| Sectors 7-9 | 2.0x | 1.6x | Full ability sets, reduced telegraphs | 21-30 |
| Endgame Zones | 2.5x | 2.0x | Elite+ variants with legendary modifiers | 30+ |
The recommended player levels assume balanced investment across your chosen ability tree and The Aberrant's upgrade path, but skilled players can tackle higher-tier zones at lower levels by exploiting the faction weaknesses detailed in the earlier sections. Community speedrunners regularly clear sector 7 encounters at level 15 by chaining environmental hazards and perfect dodge sequences, which demonstrates that mechanical skill can compensate for stat deficits.
Frequently Asked Questions
How do I identify which elite enemy type I am fighting?
Look for the visual effects surrounding the enemy and listen for audio cues. Hiss elites emit a low-frequency hum and have purple distortion auras, Mold elites leave spore trails and have green particle effects, and possessed enemies retain human silhouettes with corrupted weapon glows. The enemy nameplate also displays their faction icon when targeted.
What is the fastest way to deal with Hiss Distorters?
Use the twin-blade form and dodge toward their original position immediately after they vanish, which forces them to waste their teleport ambush. Follow up with rapid light attacks to interrupt their combo startup, and switch to hammer form only if you need to break their stagger resistance with a charged heavy attack.
Can elite enemies be stealth killed or avoided entirely?
No, elite enemies cannot be stealth killed and will always detect Dylan within a certain range based on the zone tier. However, you can use vertical space to bypass some elite patrols, as most elites cannot climb and must navigate stairs or ramps to reach elevated positions. The Gravity Anomalies in certain zones provide additional traversal options for avoidance.
Do elite enemies respawn after being defeated?
Yes, elite enemies respawn when you leave and re-enter a zone or after a set timer based on the zone tier. Early zones have longer respawn timers of approximately 30 minutes, while endgame zones respawn elites every 10-15 minutes. This system allows you to farm specific elites for their unique material drops used in The Aberrant's upgrade path.
Which elite enemy drops the best upgrade materials?
Possessed Parautilitarians in sectors 7-9 are the best elite target, dropping rare Aberrant Cores that unlock new weapon forms for The Aberrant. Mold Infestors drop Corrupted Spore Samples for Aberrant upgrades, while Hiss Resonators provide Resonant Shards for ability tree enhancements, but neither matches the Cores' transformative value.